
Solarigraphy at the Lodge
My most recent hobby is solarigraphy, so of course the whole time since taking over the place I was looking forward to finding some free time to set up a "camera" in the garden.
January 3: Preparation
For the people unfamiliar with the process, here's what you need:
- Photographic paper
- Empty drink can, big enough to fit the photographic paper inside
- Scissors
- Needle
- Lots of sticky tape
- Lots of time
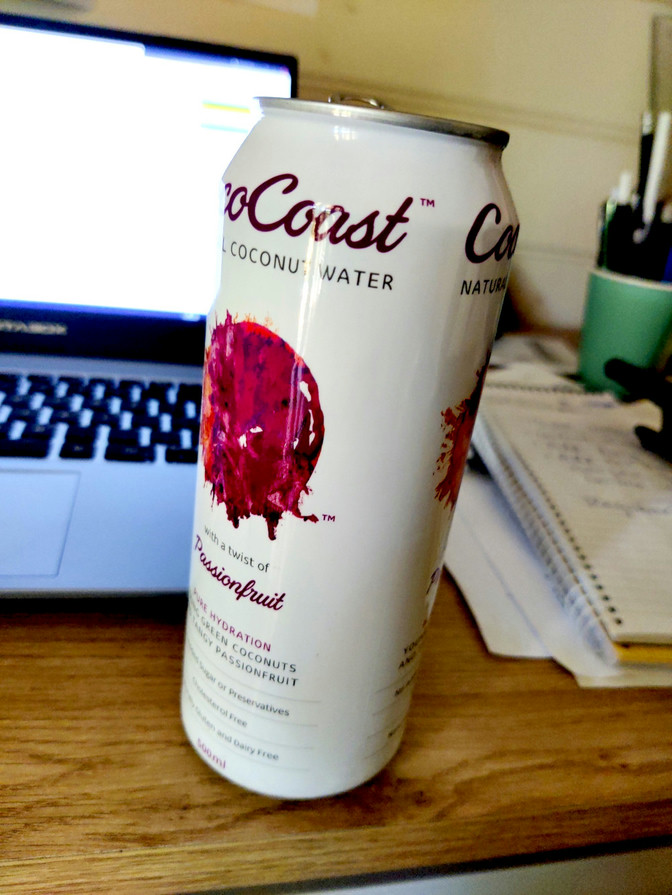
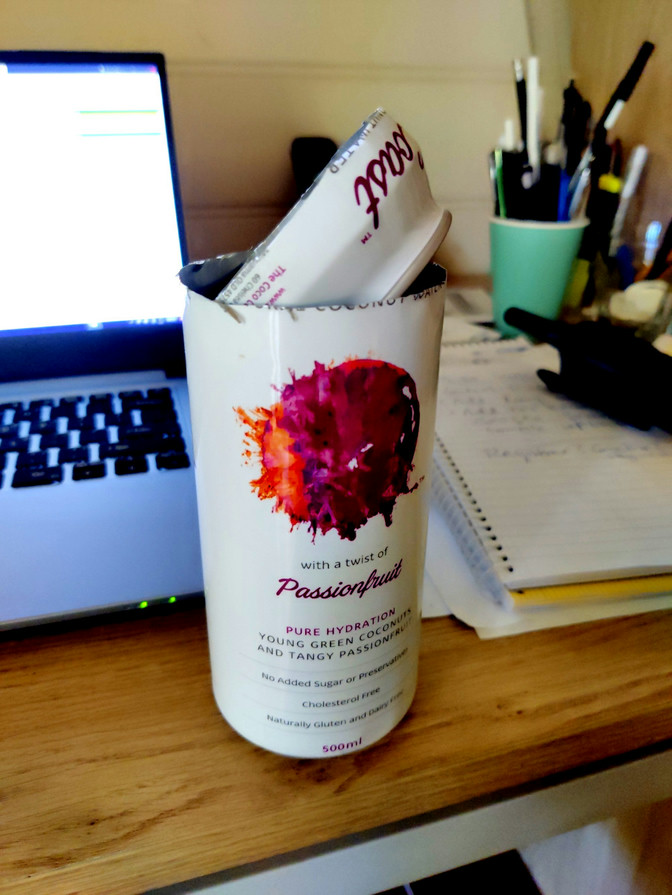
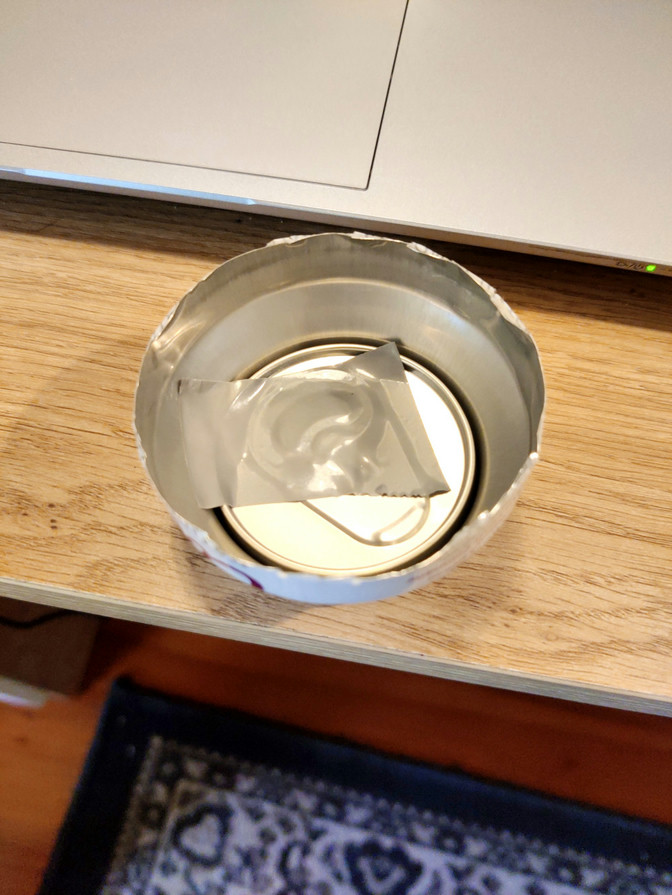
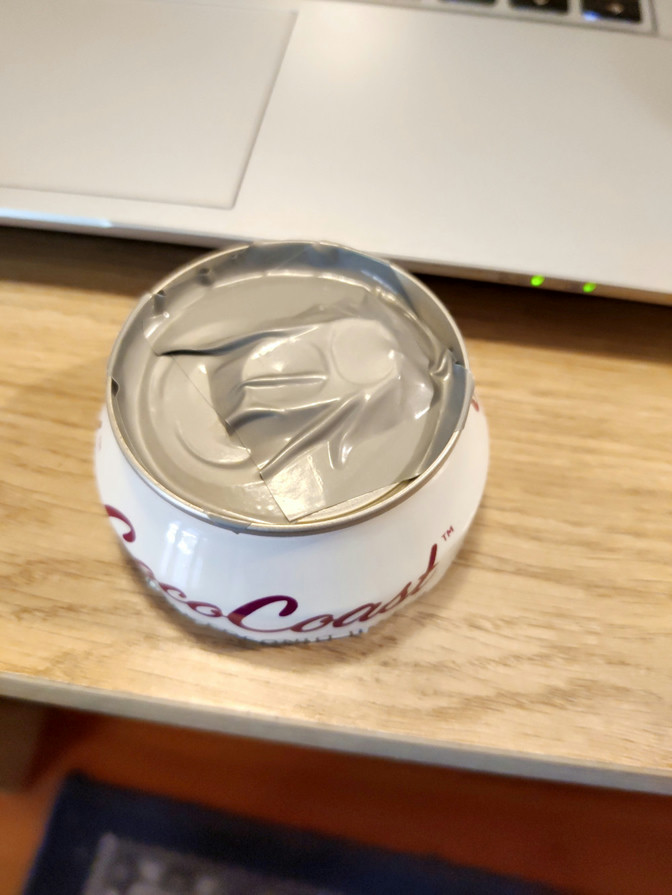
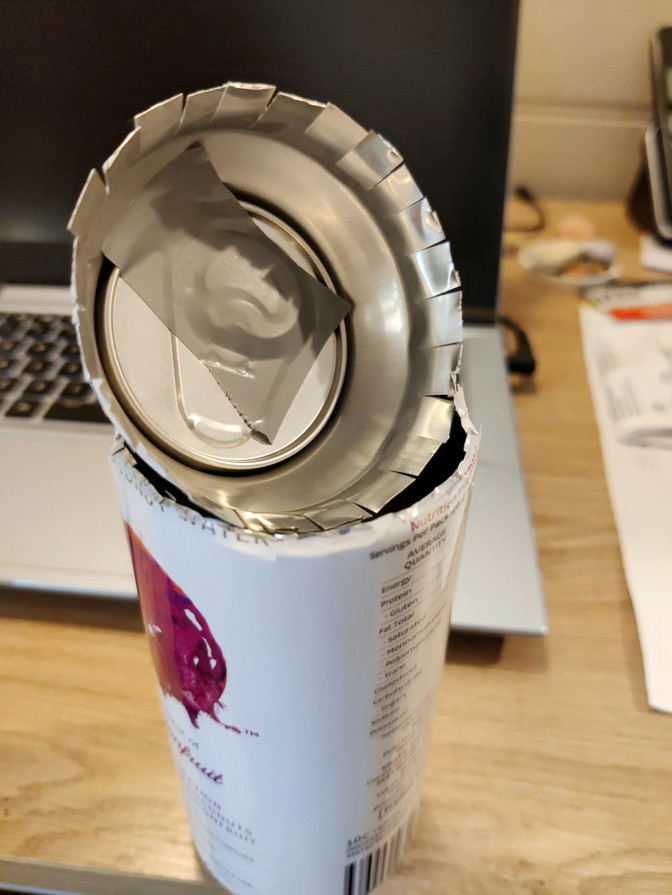
Not pictured: I made a tiny hole in the top third of the can, below the top part. Also I put a sheet of photographic paper inside, as if lining the walls opposite to the pinhole. Of course this must be done in the dark, as the photographic paper reacts to light quickly.
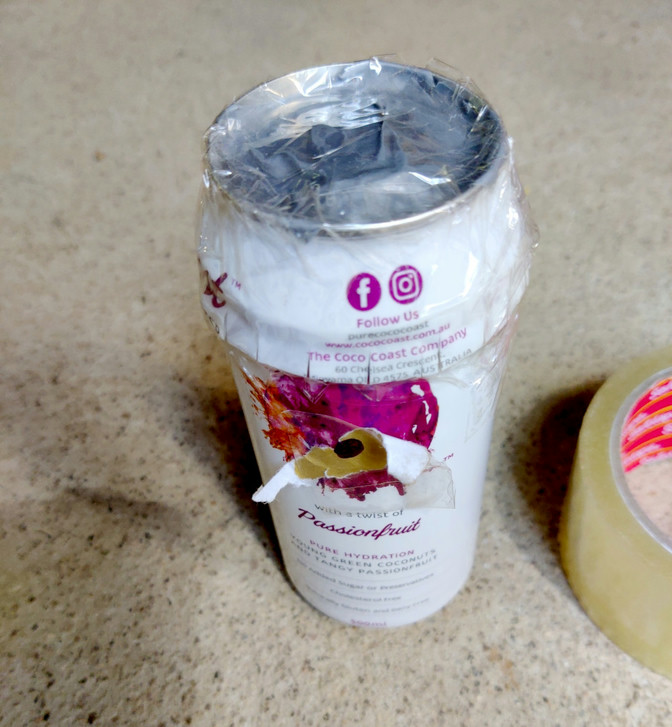
Also not pictured: I found some sealing paint spray, so I spray painted it all white. This serves two purposes:
- Making the "camera" waterproof (hopefully)
- Making it less obvious as people removing the cans are the main reason of failure
January 11: Positioning
I fixed the can to a pole in the pool area of the garden, facing the house and consequently north.
The intention is to leave the can there for a long time, as the most interesting thing about solarigraphy is the sun marking its trajectory on the photographic paper, and the wet season started shortly after the positioning.
So now we wait...
February 10: Retrieving
Aannnd... It's a fail.
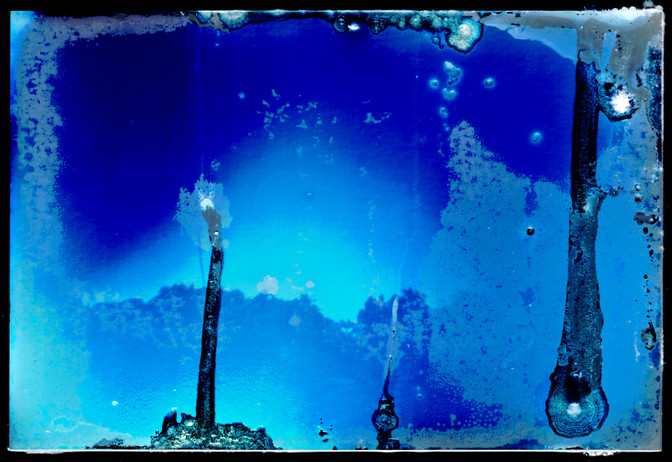
I inverted the colours in the final result to see it better, but you can barely tell there's some trees in there.
I don't know if the partable in the middle is the sun's trajectory, normally it's more clear.
The more evident things are the humidity damage. There was around 1 cubic mm collected at the bottom of the can. It has been a really wet month.
If it wasn't for my expectations, it would have been a nice abstravft picture, though.
I will try again, maybe putting some silica gel bag inside next time.